Repairing a Chip in Granite Countertop
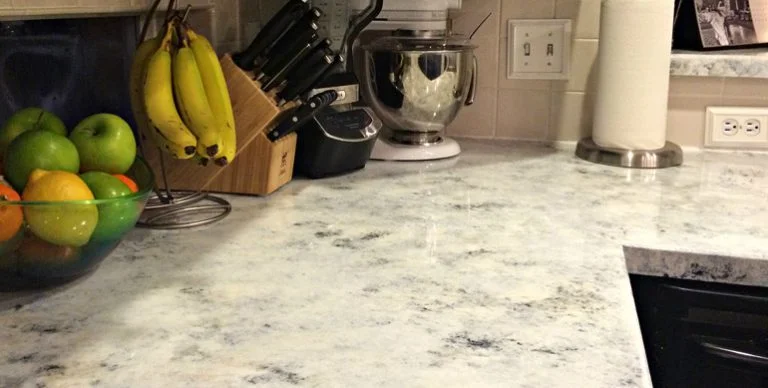
Though granite countertop slabs are very strong and durable stone, they might get chipped over long term use; mostly due to our wrong habits or lack of knowledge regarding its proper care and maintenance. For a small chip, calling a professional might cost you a lot and replacing the granite countertop only because of a tiny chip is never a good idea. In such situations, it is recommended to go for do-it-yourself (DIY) repairs.
Do it yourself steps for GRANITE COUNTERTOP CHIP REPAIRING
First of all, you should know what all is required before starting the repair process of countertop slabs. Below is the list of several kinds of stuff that you would require during different phases of the repair.
- Lukewarm water
- Bucket
- Soft cotton towel or cloth
- Granite epoxy resin and hardener
- Latex gloves
- Razor blade
- Mild dish soap
- Sponge
- Masking tape
- Tongue depressor
- Paintbrush
- Granite-specific sealer
Repairing a granite countertop chip can be divided into several steps that are discussed below:
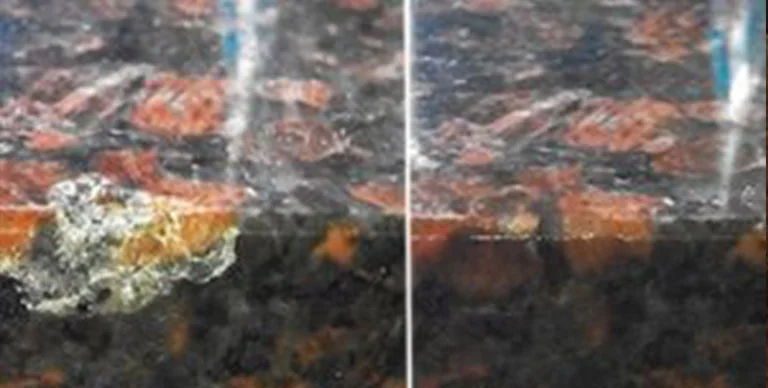
1. Cleaning the Countertop: Prepare a cleaning solution of light warm water and mild soap solution in a bucket. Soak the sponge in the solution and wipe off the entire countertop slabs surface surrounding the damaged granite or chipped area. Make sure that you should thoroughly clean the chip and its surroundings without leaving debris or dirt particles, or else these may hinder your patchwork.
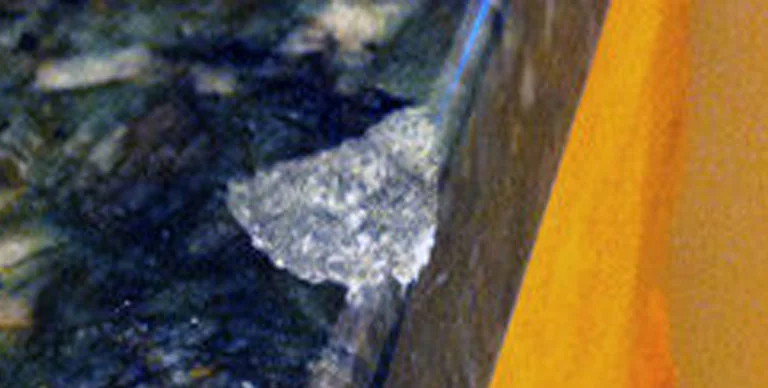
2. Drying the Countertop: Gently wipe off the surface with a dry clean towel and thereafter, leave the surface untouched for an hour. Before heading on to the next step, make sure that there should be no trace of moisture on the granite surface.
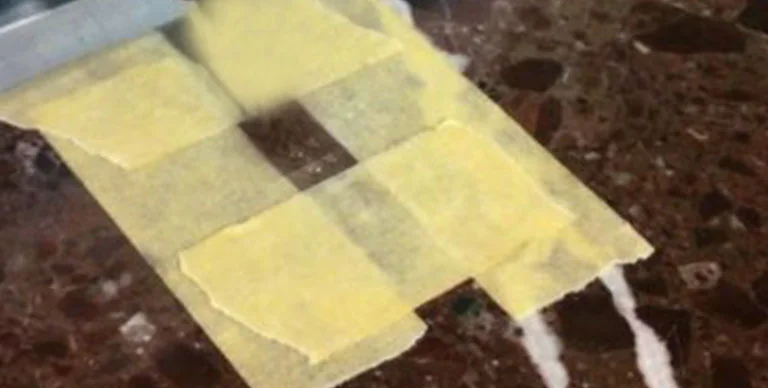
3. Isolating the Chipped Area: The undamaged surrounding area of the countertop should be protected by applying the masking tape. The chipped portion of the granite should only be left visible and uncovered. Other stuff like appliances, power outlets, and wires should also be covered with masking tape so that they should remain intact during the repair work.
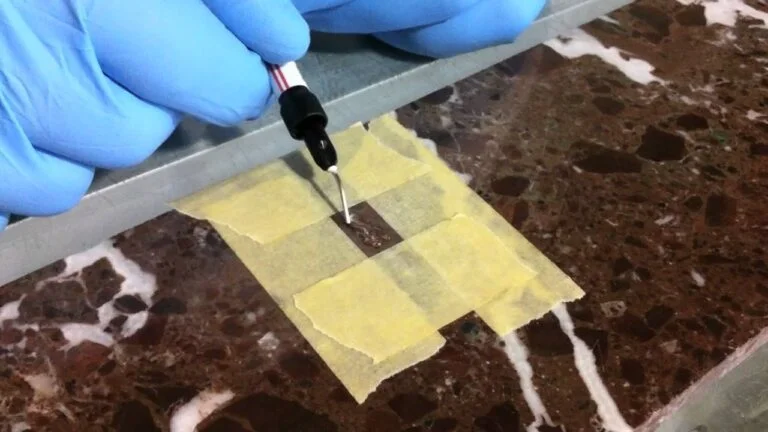
4. Applying the Granite Epoxy Resin: Before starting with this step, wear latex gloves and mix the epoxy resin and hardener. It is suggested to refer the instructional manual that comes with the granite epoxy resin. Apply the mixture on to the chipped area and then smooth the area with a tongue depressor. The excess mixture should be cleaned off with the help of a razor blade.
5. Leaving the Repaired Surface to Dry Completely: Allow the epoxy-hardener mixture, applied on the damaged section, to dry off completely. To know the approximate time of drying, you may refer to the instructional manual.
Once the epoxy mixture, applied on the damaged area, dries off completely; the repaired area should then be coated with a granite-friendly sealer. It is a general recommendation to apply the sealer just 24 hours after the application of the epoxy resin mixture. The sealer will help the freshly repaired countertop to regain its natural beauty and gloss. In addition to this, sealing makes the granite top non-porous as well as scratch and stain-resistant.
Safety Note: Epoxy resin is a highly flammable material and easily reacts with the heat. Upon heating, epoxy resin produces hazardous fumes and may cause damage to household stuff. It is therefore recommended to avoid using an oven or any other kitchen appliance during the chip repair process.
Just like any other natural stone, quality granite countertop requires proper care and regular maintenance. This will allow it to preserve its shine and last for a longer duration.
India is a global leader in producing and exporting quality granite in more than 100 different shades. In case you are looking for a granite product, (kitchen countertop or floor/wall tiles), you can contact a reputed Indian granite supplier and exporter like the 20-year-old Regatta Granites India.